

In Microsoft 365, Power Automate is the go to solution for all kind of workflow based notification emails. In this blog, I will explain technique to send emails using your corporate branded email templates. If you do not have a corporate branding for your internal emails, maybe it is the right moment to plan for one.
Step 1: Create an email template HTML
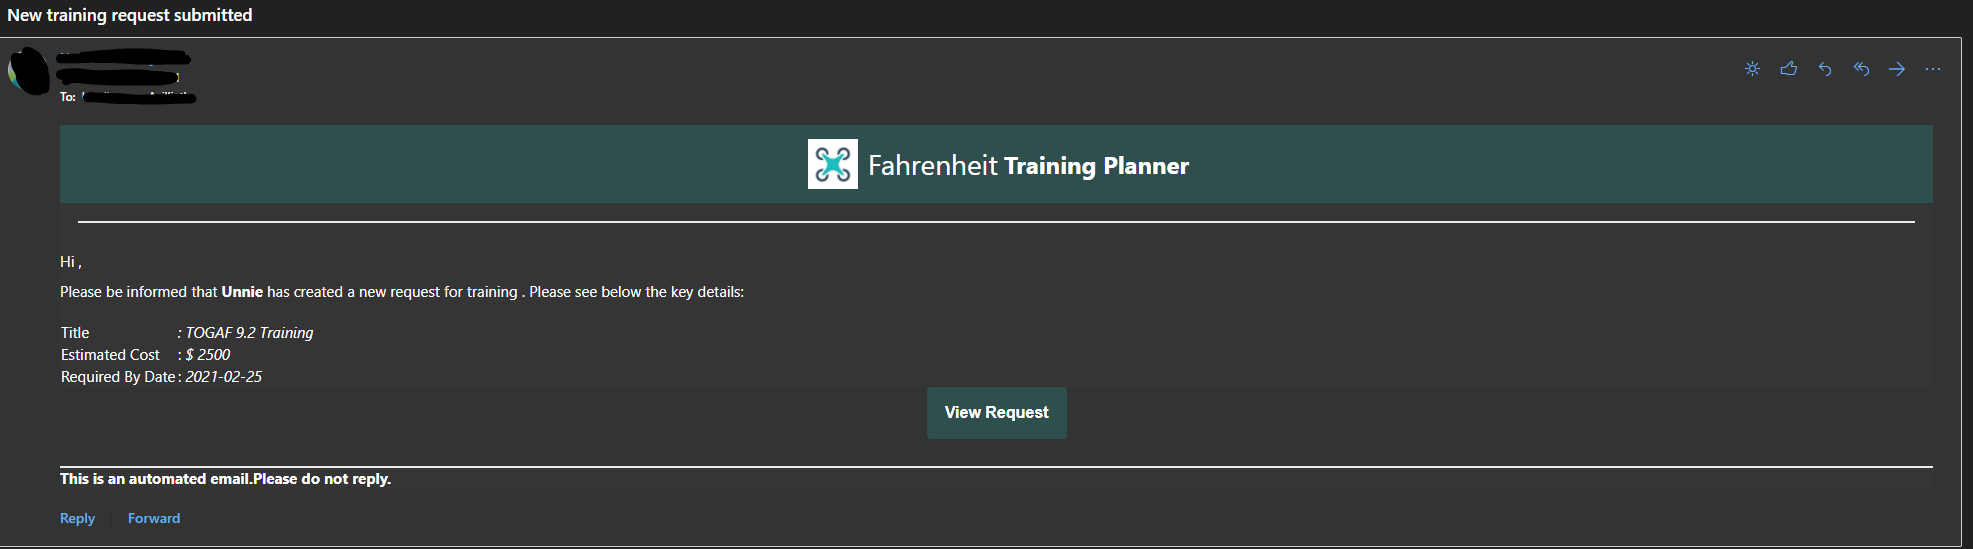
First, you need to have a nice looking email template html which has your coporate logo and other branding elements you want to have in the email. For this post, I am going to create a sample email template which has a header on top with logo and name of a fictious company, the name of the application inside the company which is sending the email. So my email template looks like below for a fictitious company.
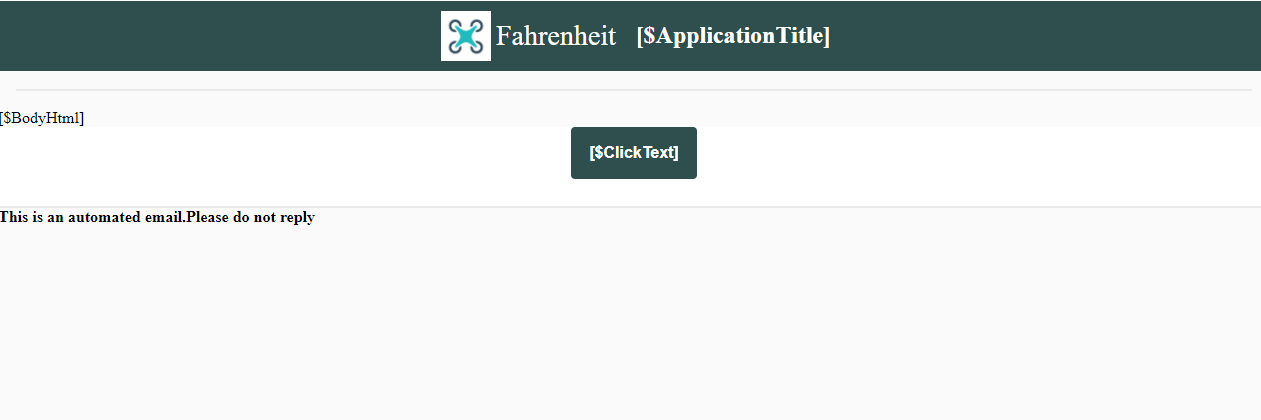
Now, if you see in my above email template, I have few place holders where I will be filling real data when the flow is created or even better would be when the flow is run. When you create the email template, you need to specify and stick to some format for the placeholder. In this post I use a format “[$VariableName]” and you can see them in the above screenshot of template. Now, for me the most important placeholder is the [$BodyHtml], because I want to use this template in multiple SharePoint sites and for each list or library the body of the email will be different. The placeholders I defined for this template are below:
- [$ApplicationTitle]– This will be used to show which application inside the organisation is sending this notification email.
- [$BodyHtml] – This will be replaced by the contents of the item, when the flow is configured or when it runs. The body html is depended on the application which is triggering the email, so I will let the team who is designing the application decide on the body of the email.
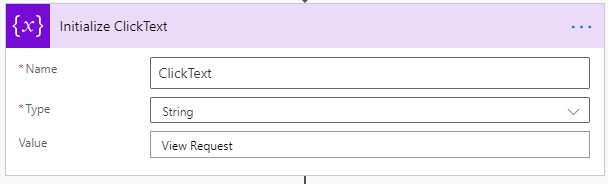
- $[ClickUrl] & $[ClickText] – This will be used to allow the user to click on a button and open the item in browser. The URL and label of the button will be configured via flow.
Tip: If you just want to copy paste (hard code) the html for each and every flow, do not want to store & retrieve at runtime from a central place then you can consider to have the placeholders with below format:
@{variables(‘VariableName’)}
Then Power Automate would automatically insert the variable value in the placeholder. But disadvantage here is that in future if your branding changes, then you will need to replace the html code in all the flows. Thats a lot of rework!
Step 2: Create a central list to store all email templates
When email templates are ready, store it centrally in a SharePoint list (or anywhere else , only thing which matters is that you should be able to retrieve it easily via Power Automate flow). This is needed if you are planning to apply your branding across a lot of flow emails and keeping it in a central place will help to roll out changes to the template with less rework.
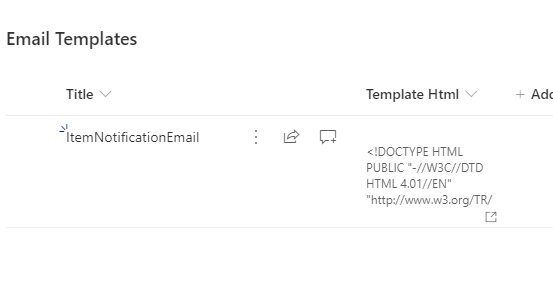
So, I have created an “Email Templates” list and read access to this list is given to user whose connection will be used in the flow. This list has 2 columns , Title and Template Html. Add your email html in the Template Html column.
Step 3: Configure Power Automate flow to use the template
Now, we have templates created and stored in a central place where users can access it. It’s time to use the template inside our flow. In this post, I will be configuring it to a SharePoint item created trigger, to send an email to a user.


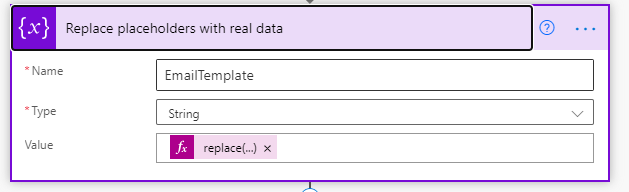
Here to replace the placeholder values with our vairables, I am using replace function in the expression.
replace(replace(replace(replace(outputs('Get_Email_template')?['body/TemplateHtml'],'[$ApplicationTitle]',variables('ApplicationTitle')),'[$ClickUrl]',variables('ClickUrl')),'[$ClickText]',variables('ClickText')),'[$BodyHtml]',variables('BodyHtml'))

Now, run the flow and finally an email will be receivd like below. As you can see all the placeholders are replaced with real data in the email.
Step 5: Reusing the flow as a template
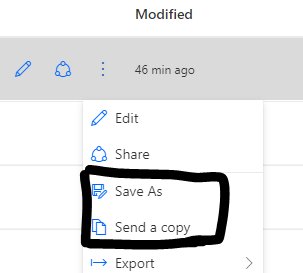
Unforutnately, Power Automate still do not have the capability to have template gallery for your organisation, but there are 2 alternatives which can be used to create more flows from this one flow. Once you have created one such flow, you can create all other similar flows by just duplicating this flow using the “Save As” button and then change the trigger and other variables.
Now, if you want this flow to be available to a set of users inside your organisation, then you can also use “Send a copy” feature to share with other users. Then they will be able to create more flows using a copy of this flow. Please note that both these options will not automatically copy any changes you make to the master flow after the flow is duplicated. See this informative post about Building a Power Automate Organizational Template Gallery to learn more on this.
Other findings during this excercise
- If you use @{variables(‘VariableName’)} as the placeholder in template html and copy paste the template inside each flow instead of fetching from the central list, flow can recognise the variables values if the variable name created in flow and the placeholder variable name matches. This would mean that you do not need to have replace function, but on the downside email templates are hardcoded on each flow.
- It was not possible to use the @{variables(‘VariableName’)} as the placeholder while email template html is fetched from SharePoint list. In that case, flow was unable to replace it with real values by default. So, you will still need to do the replace function as an additional step.

Leave a comment